
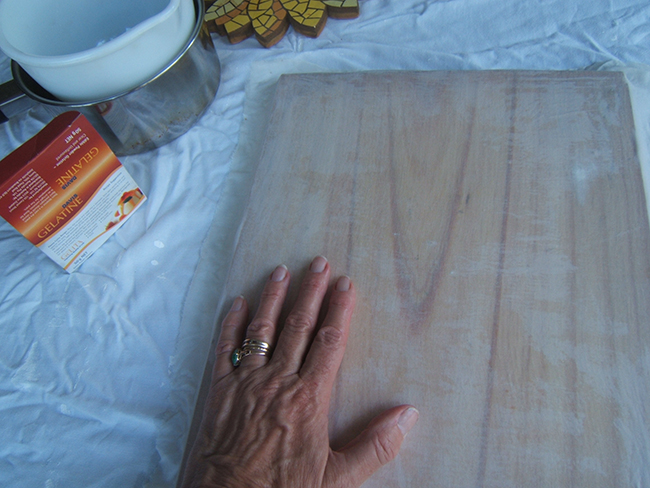
Choose a board size that ‘fits’ the image you are to create. For small icons (for the home), aesthetically pleasing sizes are 29 x 24 cms or 39 x 33 cms or variations of these. Traditionally iconographers used poplar, pines and similar timbers while today, the use of marine ply or quality hardboards is said to be just as good or even superior because of their damp resistance and that they do not warp over time.
Give boards a coat of thin size and then cover with a thin ‘skin’ of cotton fabric sized and stuck to the board front and if you wish, covering the sides as well.
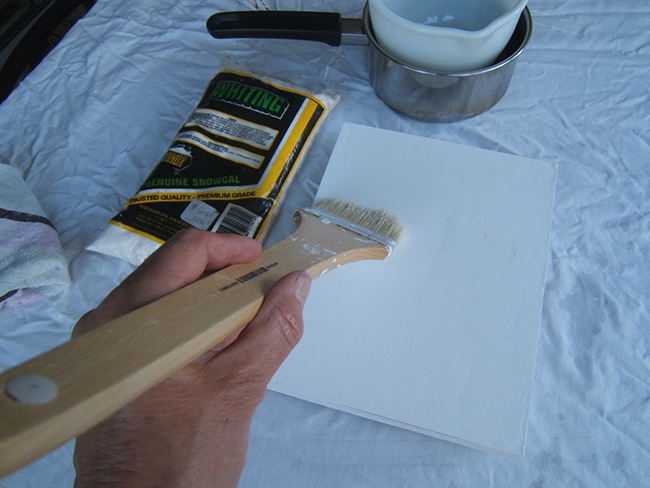
The gesso is prepared by various methods: with a rabbit skin glue or using a gelatin mix (precise recipes can be easily found on the internet - eg http://www.temperaworkshop.com/technique/technique1.htm).
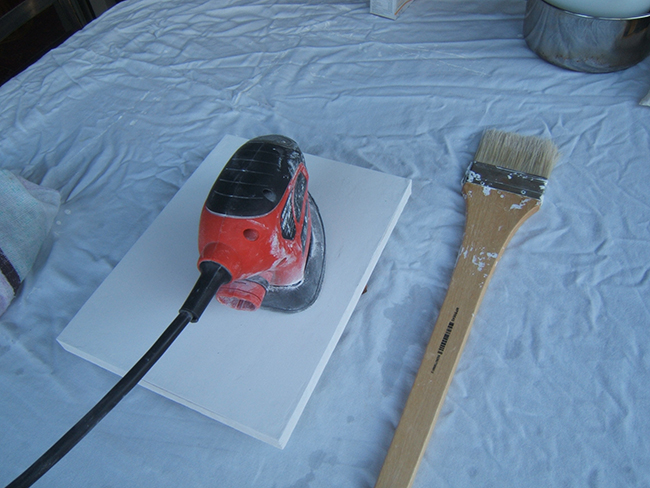
After coating with approximately 10 coats, each layer dried and pin sized air holes wiped out, the board is smoothed firstly with coarser sandpaper and eventually with very fine sandpaper, until your surface is beautifully smooth. It is then ready to paint.
Use one prepared board as a practice board for testing colour, shapes, proportions etc.
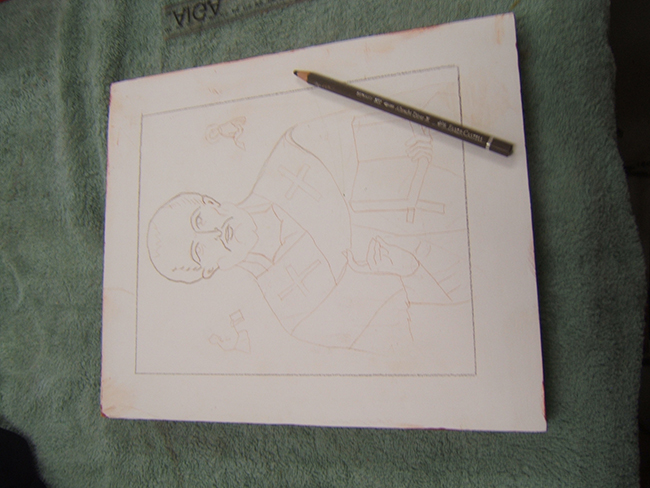
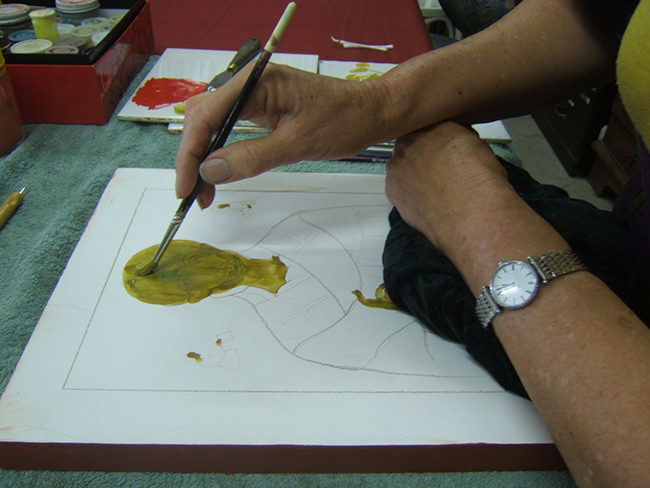
Rule a good sized border to your board. Draw or trace your image onto this- I use a water soluble pencil for this step.
Prepare your egg mixture by separating a fresh egg yolk from the white. Discard the white and pierce the yolk taking care not to get the fine membrane into the yolk. Dilute the yolk with 6 parts water and gently mix with a clean paintbrush or similar.
Have a clean jar of water to mix with your pigment and egg mixture. Change your water regularly.
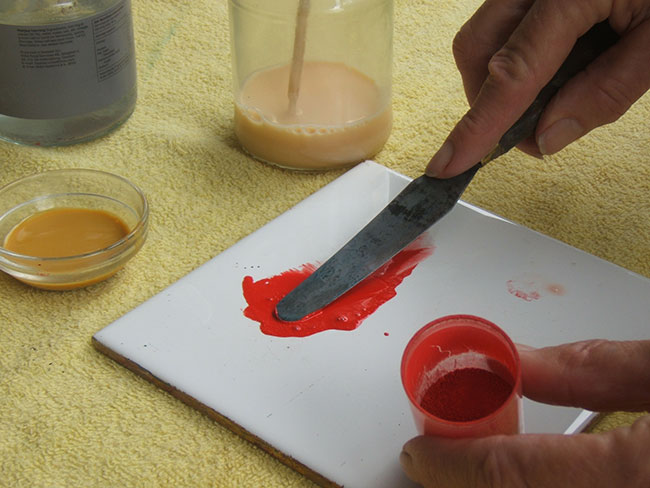
I mix my pigment with egg mixture by crushing them together with a palette knife until smooth and no grittiness. Dilute the colour with ample egg mixture for the early stages of the painting.
I find it best to paint in the faces first. Start with the darkest skin colour, gradually building up with lighter shades and finally adding the highlights. The ‘heart’ of the icon is the face, so get that right before adding too much else. While you wait for the drying between layers, you can start work on a second icon as there is considerable time needed between layers.
Some iconographers apply the gold leaf in the first or very early stages of the icon painting. If you choose to do this, be extremely careful not to mark your gold with your hands, arms or anything else.
Use the darker shades of colour on your clothing and backgrounds and gradually lighten rather than vice versa.
Allow some months, preferably, for your icon to completely dry out before very carefully applying a finishing varnish. I have used many different methods and products but find that the turps based Matisse Final Varnish Satin Finish is very good.